
How to Install OnStyle
Prerequisites
Section titled “Prerequisites”Before starting the installation, ensure you have the following:
- Microsoft Word 2016, 2019, or Microsoft 365 installed
- Windows 10 or Windows 11
- Active internet connection (for license activation)
- OnStyle installer files (Framework and Edition-specific Configuration)
Installation Steps
Section titled “Installation Steps”Step 1 – Install the OnStyle Framework
Section titled “Step 1 – Install the OnStyle Framework”- Locate and run the installer file named OnStyle-Framework_3.x.x.msi.
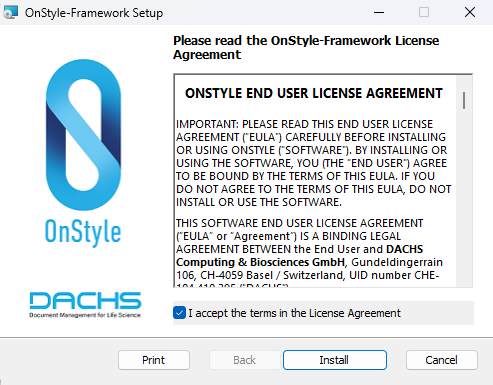
- Accept the license agreement and click Install.
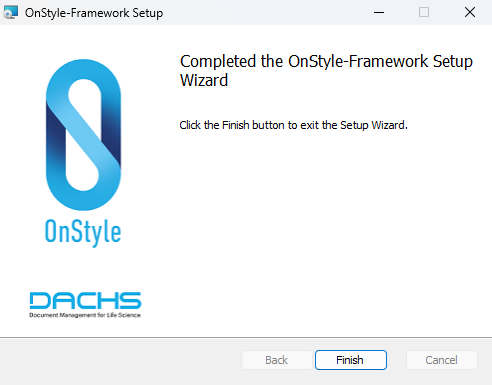
- When complete, click Finish.
Step 2 – Install the Edition-Specific Configuration
Section titled “Step 2 – Install the Edition-Specific Configuration”- Run the appropriate configuration installer based on your edition:
- For Essential: OnStyle-Configuration-Essential_3.x.x.msi
- For Professional: OnStyle-Configuration-Professional_3.x.x.msi
- Follow the prompts to complete installation.
Step 3 – Launch Microsoft Word
Section titled “Step 3 – Launch Microsoft Word”- After starting Microsoft Word, the OnStyle tab will appear on the Ribbon. By default, the Home tab remains selected as active.

- Open OnStyle tab. The Starter ribbon is displayed while the tool is loading.

- Once OnStyle is loaded, the activation window will appear.
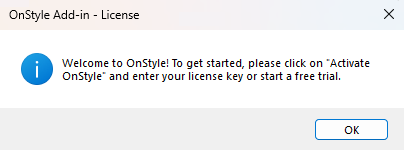
- To activate the License Key, click the Activate OnStyle button:

- When the license is activated, the OnStyle default validation options will be available:

Click to enlarge